Salam,
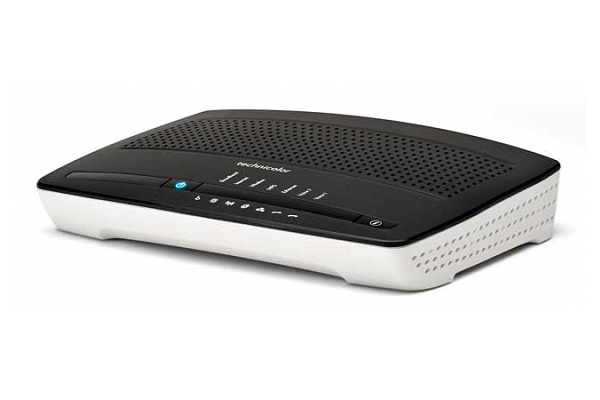
ICYMI, your default Maxis Fibre Technicolor router (model TG784n V3 specifically) comes with a build-in print server function. A print server function will allow you to share your printer with several PC or Laptop. If your router has this function and it’s a wireless router, it will allow you to connect to a non-wireless printer wirelessly as long as that printer is connected to the router either via its USB or LAN port.
In this post, albeit it is not a food review, which is a niche of this blog, will tell you how to activate and use the print server function.
For this post, I will use my home printer which is a Hewlett-Packard (HP) model number K209g and my PC OS is Windows 7. But more or less the steps will be the same for different printer or Windows version.
Before you proceed, make sure all this things are already done:-
1) Print server function in the router is already activated.
2) You have installed the printer driver on your PC.
3) Your printer is turned on and connected to the router via its USB or LAN port.

Printer is connected to the router’s USB port.
So, first, you will have to make sure that the print server function is activated in the router. This function should be activated by default. But if it’s not, you need to follow this guideline to activate it.
SETTING UP THE ROUTER
1. Turn on telnet function on your Windows. Go to Control Panel > Programs and Features > Turn windows Features On and Off > tick Telnet Client. Click “ok”.

Turn on telnet
2. Open your command prompt (“Start” > type “Run” > type “cmd” > Ok).
3. Type telnet 192.168.1.254 then press “Enter”.

4. It will prompt for username and password. You must login under Administrator account.
Username: Administrator
Password: Serial number OR Access Key (below your router)
5. If the login success, you will see like this photo.
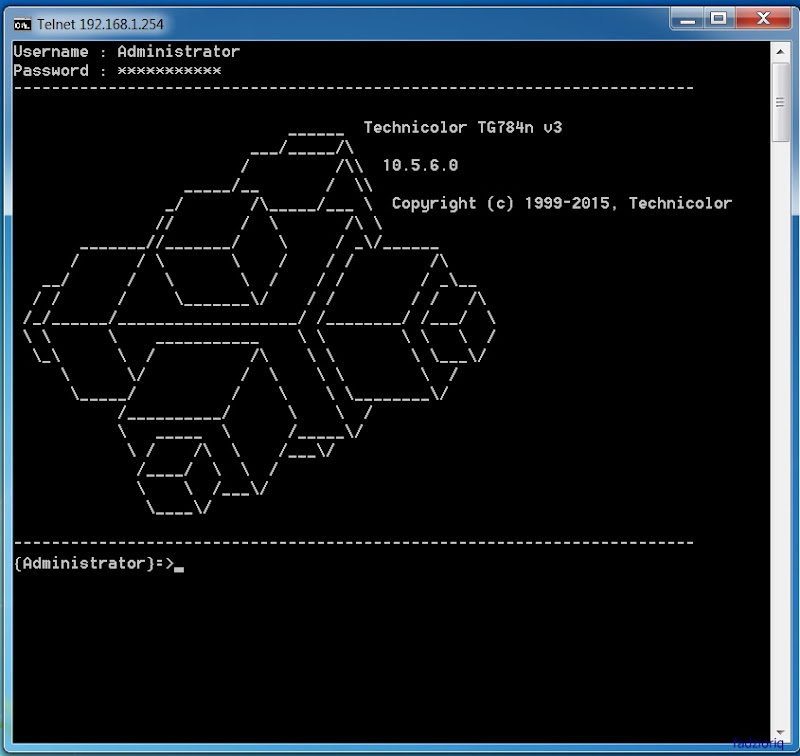
6. Now, type this command.
-
printersharing LPD queue add name=TG784printer type=raw default=yes
(you can put any name for the printer name)
-
printersharing LPD config state=enabled
-
saveall
So, once the function is activated, we can proceed with setting up the connection between our PC and the Printer.
SETTING UP THE COMPUTER
Now, lets proceed with the setting up of our PC.
1) Go to “Start” button and choose “Device & Printer”

2) Click “Add a printer”

3) Choose “Add a local printer”

4) Choose “Create a new port”. Then select “Standard TCP/IP Port”. Click “Next”.

5) Fill in the particulars as in the image below.
Hostname or IP address: 192.168.1.253
Port name: 192.168.1.253


Wait for a minute for your computer to detect the port automatically.
6) Additional port information required. This is normal. Select “Custom” and click on the “Settings…” button.

7) Configure your port information as in the image below. Then click “Ok”

8) Click “Next”


Wait for a minute for your computer to detect the printer driver model automatically.
9) Assign your printer driver manually. This is the reason why you need to install your printer driver first. If you already done it, you will saw the driver in the list. As in my case, my printer is Hewlett-Packard (HP) model Deskjet Ink Advantage K209g. Once you have done choosing the right printer, click “Next”


Choose the current driver you have already installed if you have installed the printer driver earlier on. Click “Next”.

Choose your printer name. Click “Next”.

Your printer are being installed to your computer. Wait for a few minutes.

Done!! Click “Finish”.
10) Once done, you will see your printer under the list of “Printer and Faxes”

That’s all for now, hope this guideline is useful to you. Bye-bye.
March 25, 2020 at 4:16 AM
Thanks a lot for your instructions. They worked for me, being a Vodafone customer in Portugal!
April 7, 2020 at 3:12 PM
I’m glad my article helps you.
Best wishes~
November 22, 2018 at 10:09 AM
Hi, I would like to ask, what if I were to connect different printers (for e.g : 4 diff Dot Matrix printer by using the USB hub, and then from the USB hub,direct-connect to ), is that possible? Because I have
6 users that will use those 4 printers at once.
Wanted to look up for tips and guidance before doing any further changes to my office because I am not an IT expert T.T
Looking for your kind reply!
October 13, 2018 at 3:27 PM
This is awesome! Thanks for the guide!